

We know it’s cheesy, but we think any science experiment involving food is grate, especially one where we can use cheese puns, so you cheddar believe we’re gouda brie making and testing cheese today! (Too many cheese puns for one sentence? Nah.) It’s been a while since we’ve had a microbial experiment involving dipslides, so we thought this would be the perfect double-whammy experiment to use both test strips and dipslides. Let’s see if you have what it takes to be a cheese-maker!
Background
Cheese-making can be described as the process of removing water, lactose, and some minerals from milk to produce a concentrate of milk fat and protein. The essential ingredients of cheese are milk, a coagulating enzyme (rennet), bacterial cultures and salt. Rennet causes the milk proteins to aggregate and ultimately transform fluid milk to a semi-firm gel. When this gel is cut into small pieces (curds), the whey (mostly water and lactose) begins to separate from the curds. Acid production by bacterial cultures is essential to aid expulsion of whey from the curd and largely determines the final cheese moisture, flavor and texture.
Materials
- Small jars or plastic containers with lids (mason jars, baby foods jars, Tupperware or whatever you can find around the house)
- Unopened container of whole milk (cow or goat)
- Yogurt (alternatives include probiotics, fermented foods or kefir) (This is your bacteria source.)
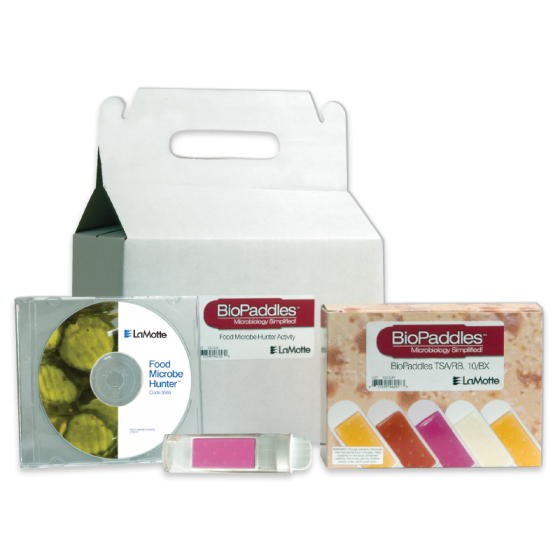
- pH 1-14 Test Strips
- TSA/RB Dipslides
Experiment
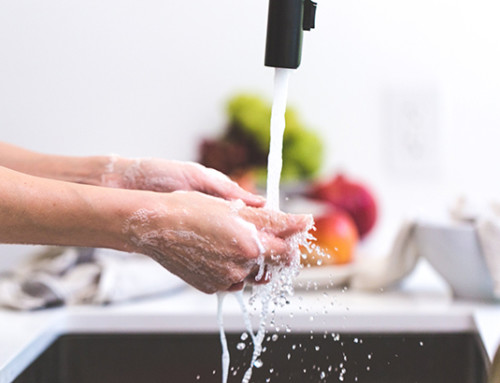
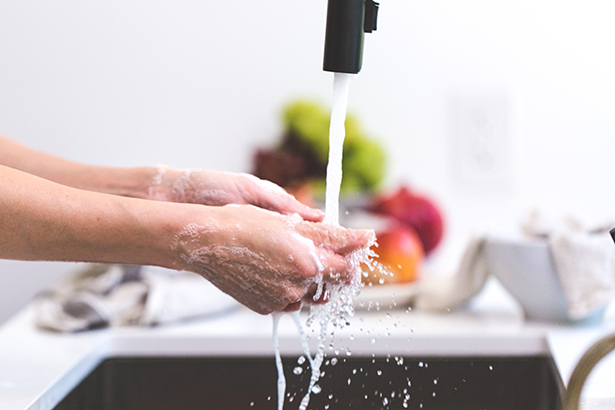
- Pour some of the whole milk into your container. Briefly keep the container open to the air to allow some bacteria to enter.
- Next, add a small amount of yogurt, or whatever bacterial source you chose. You could use roughly 2-2/3 C of milk with 1 teaspoon of yogurt. You can also experiment with the ratio of milk to yogurt to see what happens.
- Once you have mixed your milk and yogurt, you will need to let the bacteria ferment the milk. You can either seal the lid tightly or leave it loose. The choice is yours.
- You can leave the container at room temperature, or put it in a slightly warmer environment, like on top of the refrigerator. It can be fun to hypothesize the effects of variables like this in your experiment. Another variable is leaving the container in the light or dark.
- This experiment can go many different ways, as there are a few variables you get to decide on throughout. You can make a few different cheeses, changing certain variables along the way, to see how they compare.
- Observe and test your container(s) daily and record your observations in your laboratory notebook. Is the color changing? Is it curdling?
- Each day, you should also test the pH of the solution. Dip the test strip into the solution and remove, then shake off excess liquid. Immediately compare the results to the color chart and record your findings in your laboratory notebook. Is the solution becoming more acidic?
- You should also perform a couple of tests throughout the study using the dipslides. You don’t need to perform this test daily, but once at the start of the experiment and once at the end should be plenty. You can either use a sterile swab to smear the milk/yogurt sample onto the paddle, or you can pour a sample into the dipslide tube. If you pour a sample into the dipslide tube, place the paddle in the vial, swirl for 30 seconds, pour out the sample, and replace the paddle in the tube, closing tightly. Label the tubes with the date you tested the sample and set aside in a warm area, out of direct sunlight, for 5 days. Observe the growth and record your findings in your laboratory notebook. Was there more growth on the paddle sample that was taken at the end of the experiment? What types of growth did you find? (Hint: Use the last few pages of our technical guide, where you’ll find a chart with pictures of growth.)
Going Further
 This is a pretty basic experiment for making cheese. If you want to do something more sophisticated, you’ll need more advanced supplies, like cheese cloth, an actual culture, rennet, etc. There are plenty of recipes and methods out there, so just do some searching to see what you can find.
Additionally, check out LaMotte’s Microbe Hunter Activities for additional experiments. In these kits, you’ll find much more in-depth information.


Leave A Comment