

Today’s experiment is fun and useful, the perfect combination, so let’s jump right in! Biting into a whole apple can be hard on your teeth and isn’t as enjoyable as eating a fresh apple slice. But darnit, those apple slices turn brown so quickly!
Why?
Well, when an apple is cut, oxygen enters the damaged plant tissue. When oxygen exists in cells, polyphenol oxidase (PPO) enzymes in the chloroplasts quickly oxidize phenolic compounds naturally occurring in the apple tissues. This results in new chemicals, o-quinones, which then react with amino acids to produce brown-colored melanins. Different types of apples contain different amounts of enzymes, so they brown at different rates.
How can we prevent or delay the browning of apple slices? By reducing the PPO oxidation activity or lowering the amount of substrate that the enzyme can bind to.
Again, how?
Acidic fruit juices contain antioxidants that can help slow down the browning process, and in addition, the lower pH causes the PPO to become less active. There are, of course, other methods to slow or prevent apple slices from browning, but today, we’re going to focus on coating them with fruit juice. Maybe you’ve heard of squeezing some lemon juice, pineapple juice, or vinegar on apple slices to prevent them from browning. Let’s experiment to see which fruit juice has the best pH to keep those slices nice and pearly white.
Materials
- Acidic pH test strips, such as pH 2.8-4.4
- Apple slices
- A few fruit juices (Lemon juice, lime juice, pineapple juice, orange juice, white grape juice, apple juice, etc.)
- Vinegar
- Plastic cups
Procedure
- Cut up several apple slices.
- Pour a sample of each fruit juice you have selected into a cup, labeling each cup so you know what’s in it.
- Pour a sample of vinegar into a cup, and label it.
- Pour a sample of tap water into a cup, and label it. Line up each cup next to each other, so all the labels are visible.
- You’ll need one apple slice to be your control. Set this slice aside at the beginning of your row of cups. You’ll want to see the rate at which this apple slice browns naturally.
- Next, put one apple slice into each cup of liquid you have. Let the slices soak for 5 minutes, then remove. Set the apple slices down in front of the cup they were in, so you know that’s what it was dipped in.
- You’ll want to observe each apple slice intermittently to see how the browning process is coming along. Try waiting 15 minutes, then 1 hour, then 3 hours, then 3 more hours. Repat as needed until all apple slices have browned. Record your observations in your laboratory notebook each time you check on the apple slices.
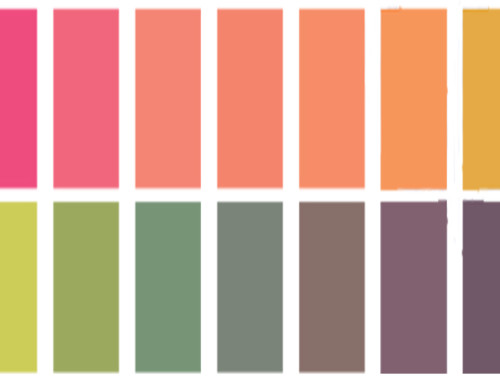
- While you are waiting for the apple slices to brown, you can check the pH of each solution. Take one pH test strip and dip into a solution, remove and compare to the color chart immediately. Repeat with a new pH test strip for each solution. Record your results in your notebook.
Conclusion
After comparing your results, what liquid worked best in preventing or slowing the browning process? Order the liquids from most to least successful. Now look at the pH of each. What pH range is best in slowing the browning process? Did you try tasting any of the apple slices? Did any of the solutions affect the taste of the apple? Conclude based on the browning rate and the apple taste what solution is best.


Leave A Comment