

Here at Precision Laboratories, we live in a region with very hard water. Water softeners are common place, and without them, calcium deposits can quickly build. But not every place is like this. In the early days of our blog, we posted an article with a water hardness map of the United States, showing the differences of water hardness levels across the country.
In this article, we also discussed the sources of hard water are primarily calcium and magnesium, but a few other minerals as well. Water hardness varies so much by region because of an area’s geological makeup. For example, limestone rock is often a source of hard water because it can be dissolved by slightly acidic water. Granite, on the other hand, is not easily dissolved by acidic water. Thus, regions with an abundance of limestone tend to have hard water, whereas regions with granite do not.
Here’s a bit more background on this… Water becomes acidic when it absorbs carbon dioxide, which is present in the air as a waste product of plant and animal respiration. When carbon dioxide combines with water, it forms a weak solution of carbonic acid. The carbonic acid reacts with limestone to produce calcium carbonate. Calcium carbonate is the white compound that leaves a scaly deposit on your faucets, dishes, dishwasher, etc. We’re very familiar with this in Arizona.
Magnesium is more commonly present in seawater, but smaller amounts can be found in freshwater sources as well. Similar to calcium, magnesium is washed from rocks and ends up in a water source, but it can also come from fertilizer run-off.
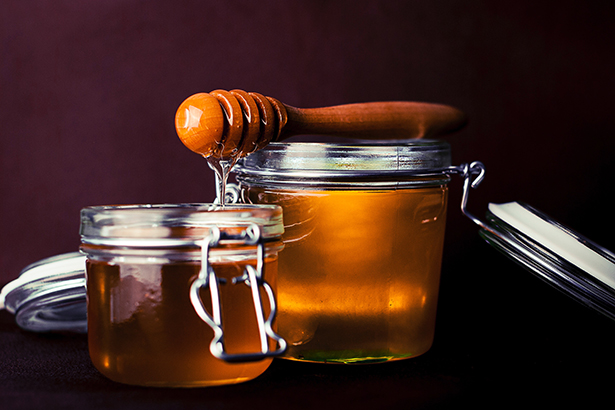
Fun fact #1: Calcium carbonate is also found in carbonated beverages.
Fun Fact #2: Epsom salt isn’t actually salt. It’s a compound of magnesium sulfate.
Now that you’ve got some background information, let’s experiment!
Materials
- Water samples (distilled water, tap water, bottled water, well or spring water, river, lakes, ponds, etc.)
- Milk
- Soda
- Epsom salts
- Fabric softener
- Cups
- Water hardness test strips
Instructions
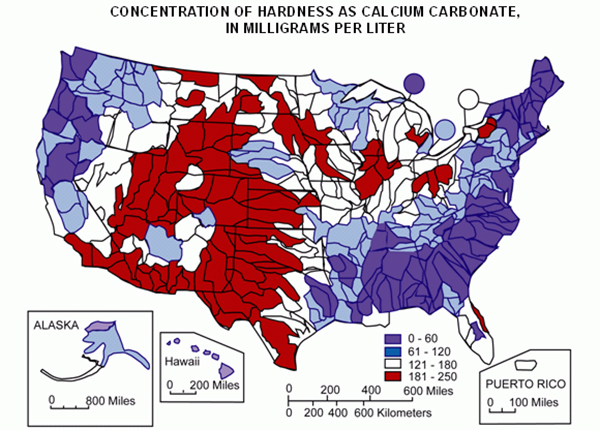
Source: U.S. Geological Survey
Start by discussing your geographic location and what effect it has on the water hardness levels. Use the map to identify what your average water hardness range is. How do you think this will affect the results of your natural water sources versus bottled water?
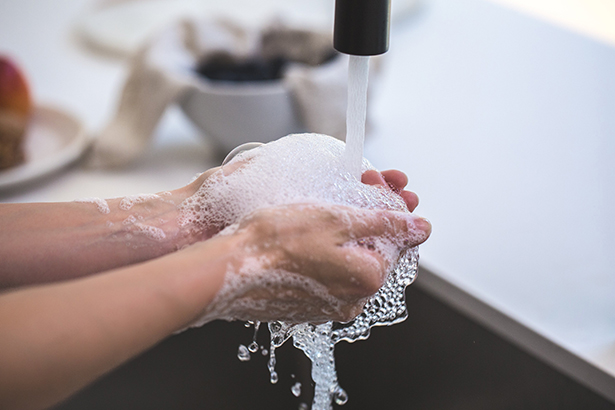
Next, you’ll need to collect your water samples in cups, and label each cup with where the water came from. You’ll need a few extra cups for other solutions, including the soda, milk, fabric softener, and Epsom salt mix.
To make the Epsom salt solution, add 1 teaspoon to a cup of water and swirl to dissolve. (You may need to add more depending on how much water you are using, so you can experiment with this.) For the fabric softener, dilute it with distilled water.
Based on the background information provided, make predictions of what solutions you think will have a higher water hardness level. Where do you think each solution will fall on the scale: soft, hard, or very hard?
Now for the fun part. Using the Water hardness test strips, you will test each solution. The test strips can only be used once, so you’ll need one for every solution. Dip a strip into the solution so the test pad is completely immersed for 1-2 seconds. Remove and compare to the color chart within 15 seconds. Repeat for each solution.
Compare the results. Were your findings as you expected? Were there any solutions that did not register on the color chart? Is there a difference in hardness levels between standing and running waters? Were there any rock formations you noticed when collecting river/lake/pond samples that might have affected the hardness level? Is there a difference in hardness levels between groundwater and surface water?

Leave A Comment